
You created a Google Slides presentation. You need to share it with someone who uses Microsoft PowerPoint and doesn't have a Google account. What can you do?

Fortunately, Google Slides includes an excellent conversion feature. Converting from Google Slides to PowerPoint and several other popular formats is easy.
This tutorial provides a screencast to quickly show you how to convert a Google Slides to a PowerPoint. We also offer a detailed written guide, including screenshots, that explains how to convert Google Slides to PowerPoint and other popular formats.
How to Convert Google Slides Files to PowerPoint (Quick Video)
To learn how to convert Google Slides to PowerPoint quickly, refer to this quick screencast video:
For more detailed information on how to convert Google Slides presentations to various formats, review the step-by-step instructions below.
Jump to content in this section:
- Step 1. Download a Google Slides Template
- Step 2. Open Google Slides
- Step 3. Make a Copy of the File (Optional)
- Step 4. Export the File
- Export Google Slides to PowerPoint
- Export Google Slides as a PDF Document
- Export Google Slides as Plain Text
- Export a Google Slide Image as a JPEG Image
- Export a Google Slide as a PNG Image
How to Convert Google Slides to PowerPoint
Follow the steps for converting Google Slides to PowerPoint:
Step 1. Download a Google Slides Template
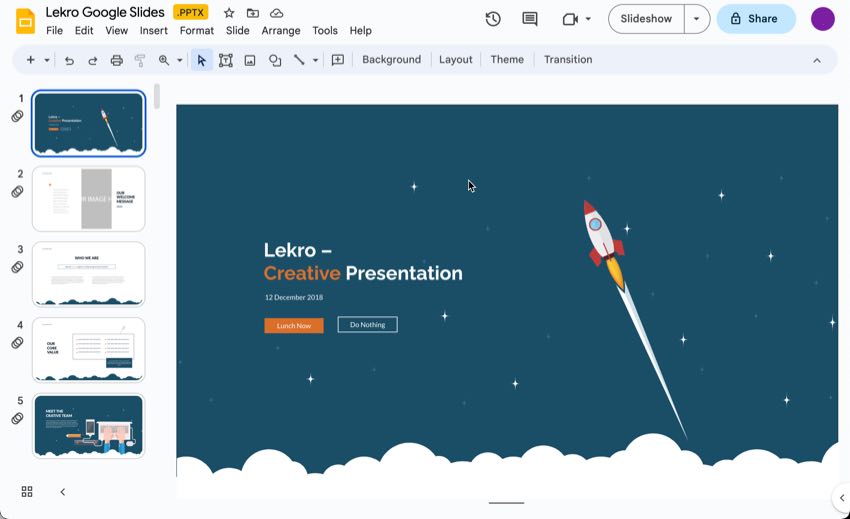
You must find a premium template before you learn how to convert Google Slides to PowerPoint. After choosing which premium Google Slides template is best, you can download it.
In this tutorial on converting Google Slides to PowerPoint, we’ll use the Lekro Google Slides Template. It comes with over 61 unique slides to which you can add information. It also comes with editable charts and icons that will keep your presentation visually interesting.
Step 2. Open Google Slides
Before you learn how to convert a Google Slides to a PowerPoint presentation, you must have a Google Account and PowerPoint Software.
Start by logging into your Google Account. To access Google Slides, start by opening Google Drive. Go to the URL, https://drive.google.com/.
Google Drive opens:
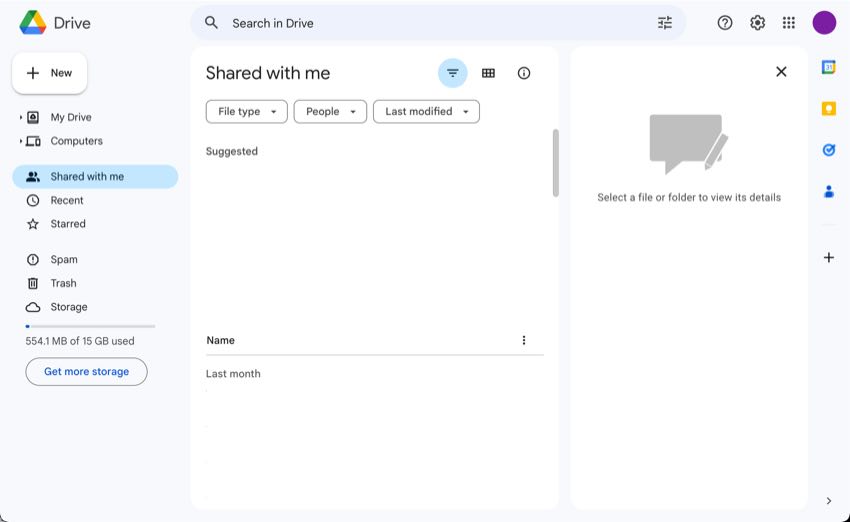
You'll see recent documents, including Google Slides presentations, by clicking either the My Drive icon or the Shared with Me icon on the left. In this instance, we'll work with a shared presentation called Test Document. Double-click the presentation to open it.
Step 3. Make a Copy of the File (Optional)
When converting Google Slides to PowerPoint, it's a good idea to make a copy of the original Google Slides file for reference. This allows you to return to your original file if you accidentally delete or alter the copy.
To make a copy, click the File option from the main menu across the top of the screen:
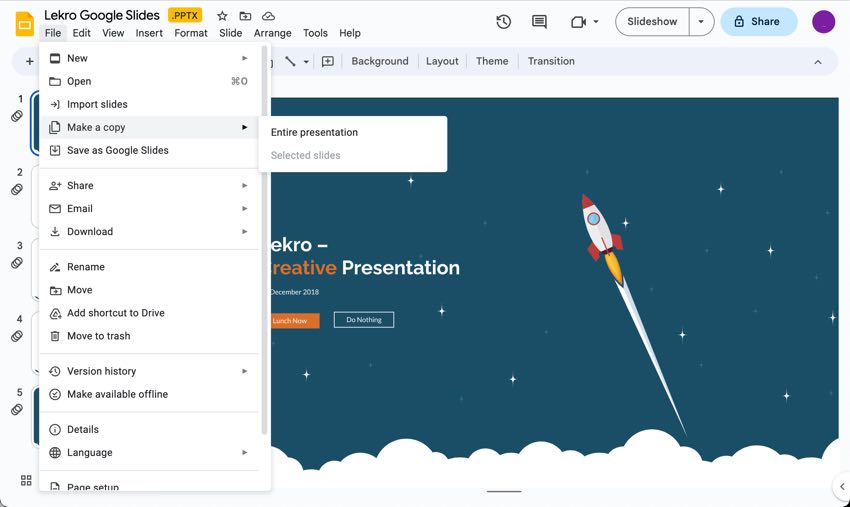
Click the Make a copy option on the drop-down menu. You're prompted to rename the file:
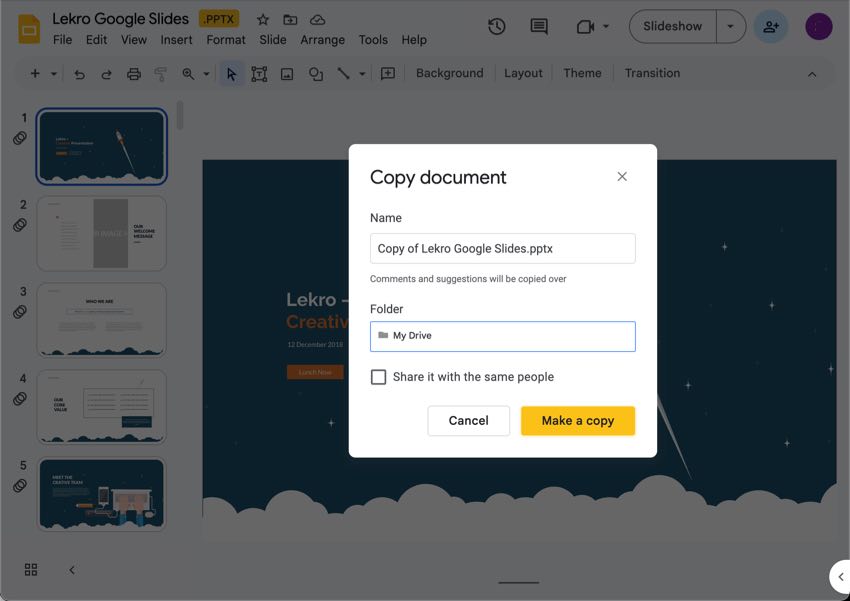
Type in the new file name and click the Make a Copy button.
It's important to note that changes made to the presentation copy won't appear in the original presentation. Comments made on the original presentation also don't appear in the copy.
Plus, the copy isn't shared with the same people as the original file unless you click the Share it with the same people option above the Make a Copy button.
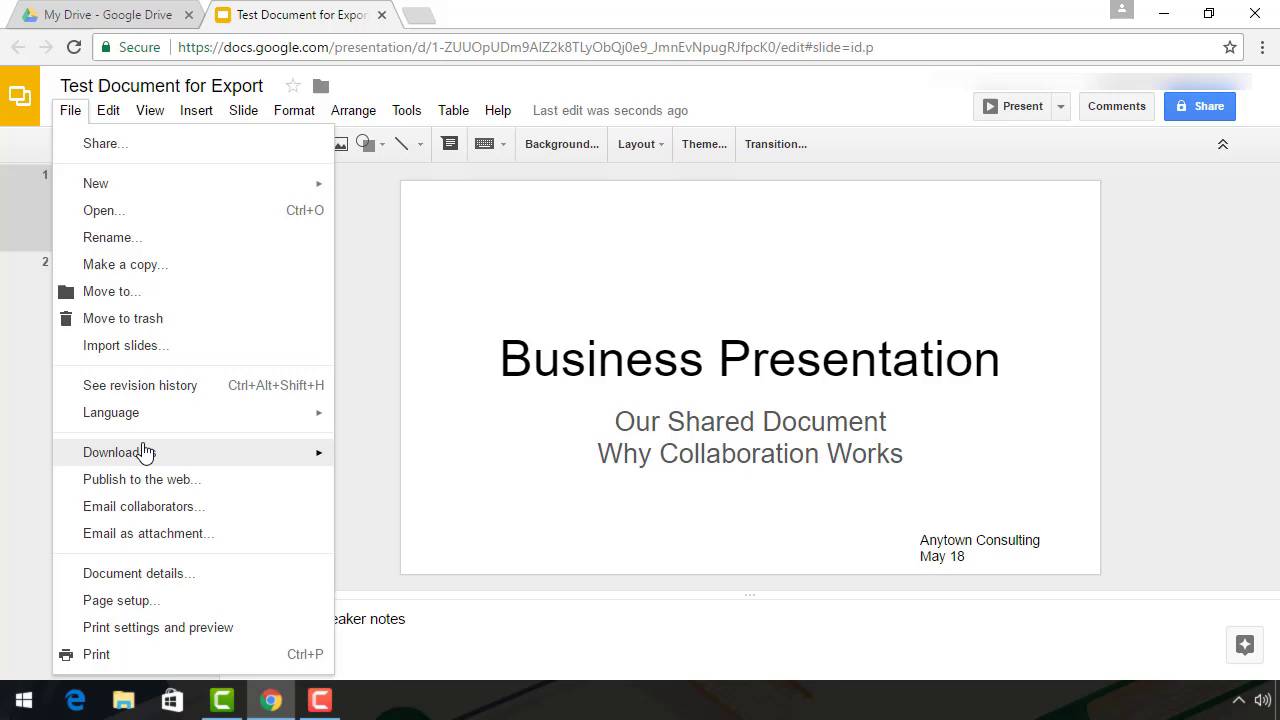
Step 4. Export the File
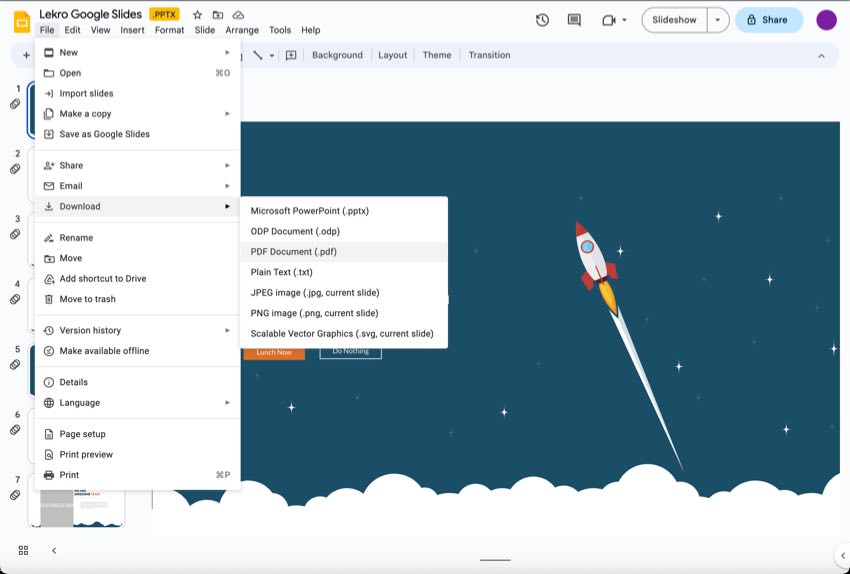
Once you've renamed your file, you're ready to export it. Exporting the file allows you to convert Google Slides to PowerPoint. Click the File option from the main menu. Click the Download option from the drop-down menu:

The Google Slides export submenu lists the various types of file formats you can export your Google Slides presentation to. Export file formats include:
- PPTX (Microsoft PowerPoint)
- ODP (Open Office)
- PDF (Adobe Acrobat)
- TXT (plain text)
- JPEG (a graphic file type)
- PNG (a graphic file type)
- SVG (a graphic file type)
Working With Export Formats
Let's look more closely at each export format:
1. Export Google Slides to PowerPoint
To export your Google Slide presentation as a PowerPoint file, first click the Microsoft PowerPoint option on the Google Slides export submenu:
The conversion takes place quickly and automatically. When it's complete, what happens next depends on your browser.
Working With Converted Files in Chrome
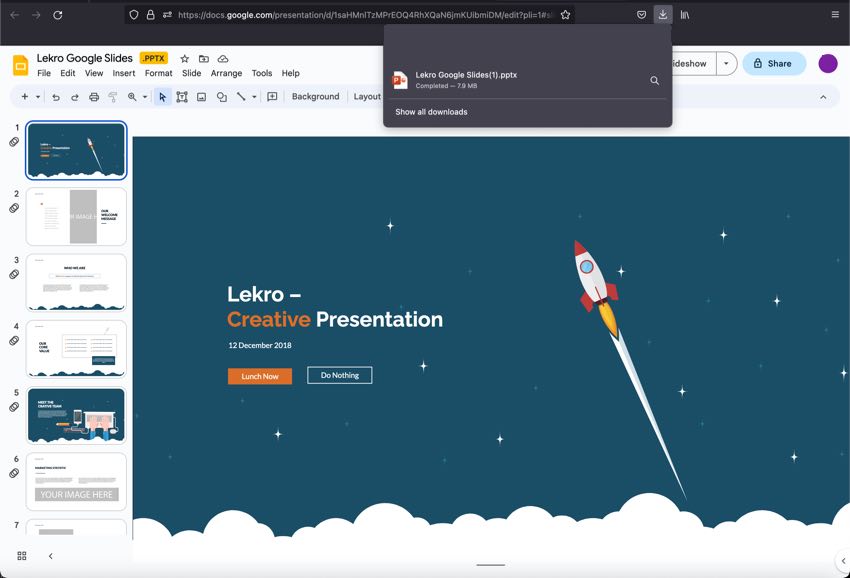
If you're working in the Chrome browser, you'll see the converted file in the lower left corner of the screen. Click on the up arrow next to the file name.
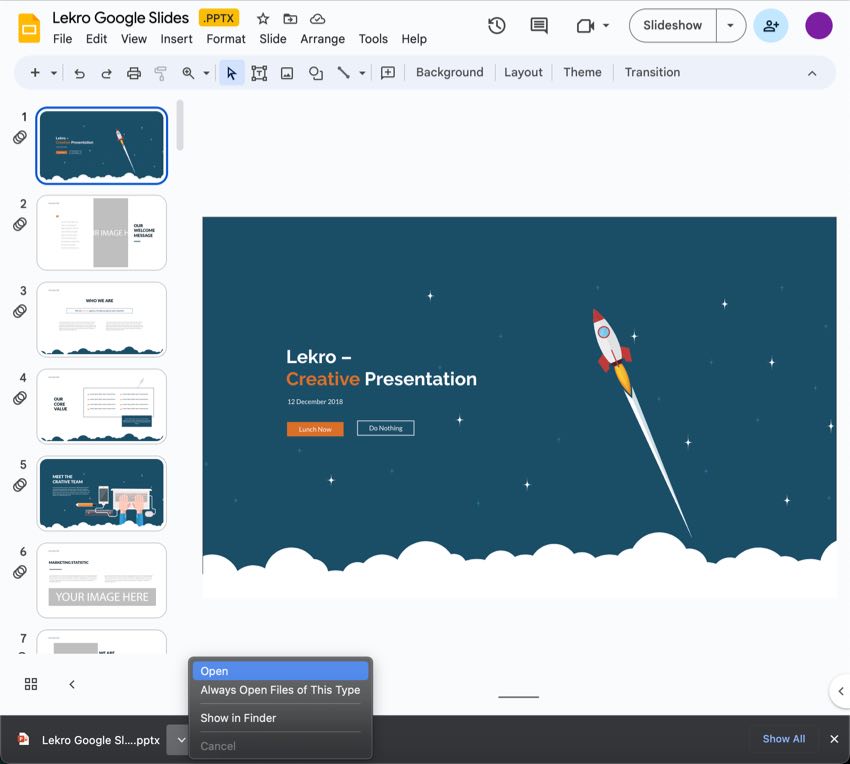
The converted Google Slides presentation file is in the lower left of your screen. (Chrome browser)
You'll see three options:
Option 1: Click Open to open the file in PowerPoint.
If the file opens in Protected View in PowerPoint. Click Enable Editing to begin working with it in PowerPoint.
Option 2: Click Always open files of this type to set up a default for automatically opening files converted to PowerPoint.
Option 3: Click Show in Finder to view the file in the Download folder on your computer:
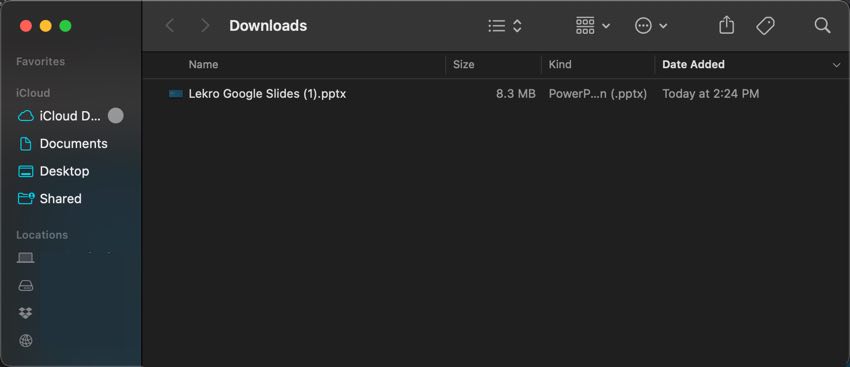
While your folders are open, you can work with the file in the folders. For example, move the file from your Download folder to another folder, rename it, or open it.
Working With Converted Files in Firefox
Mozilla Firefox also presents slightly different screens during the conversion process.
If you're working with Google Slides using Firefox as your browser, you'll see this dialog box:
If you click the Downloads button in Firefox, you’ll see your Google Slides presentation as a PPTX file in the downloads list. Double-click on that file. Once you double-click, it'll automatically open in PowerPoint.
To learn more about Microsoft PowerPoint, study our video tutorial series, How to Use PowerPoint in 60 Seconds (Quick Video Tutorials).
2. Export Google Slides as a PDF Document
To start, click the PDF Document option on the Google Slides export submenu:
You can convert Google Slides to PDF format.
As with the export to PowerPoint, the export to a PDF document occurs quickly. You'll see the converted file in the lower left screen (Chrome browser) when it is complete. Click the Up arrow to get the following choices:
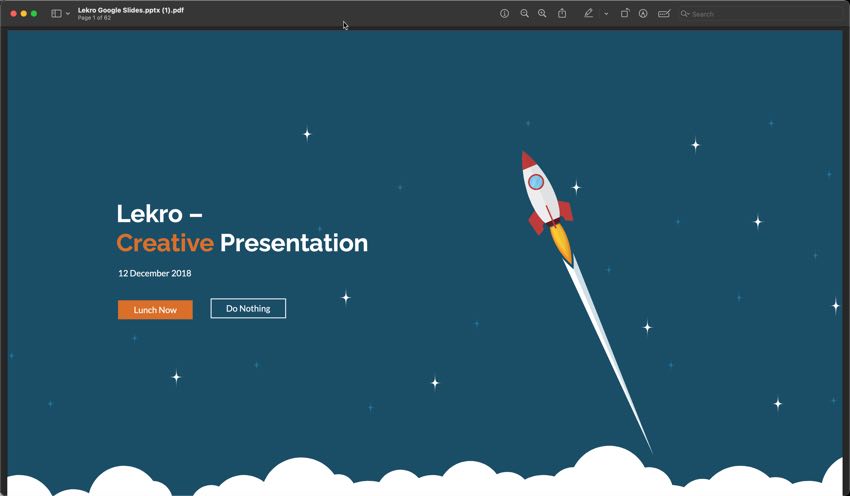
Option 1: Click Open, which opens the file in your browser:
Option 2: Click Always open with system viewer, to set up a default for automatically opening files converted to PDF.
Option 3: Click Open with system viewer, which opens the file with whatever you've got set up as your system reader. For my machine, that's Preview:
Option 4: Click Show in Finder to view the file in the Download folder on your computer. While your folders are open, you can work with the file in the folders. For example, move the file from your Download folder to another folder, rename it, or open it.
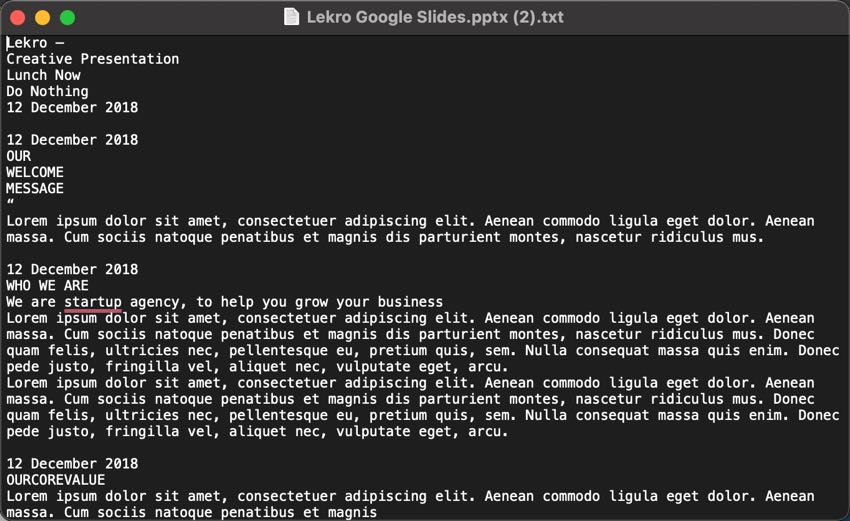
3. Export Google Slides as Plain Text
Click the Plain Text option on the Google Slides export submenu to start. The export to a plain text file occurs quickly, as with the other exports. You'll see the converted file in the lower left screen (Chrome browser) when it's complete. Click the up arrow to get the following choices:
Option 1: Click Open. The system asks you which tool you want to use to open the file:
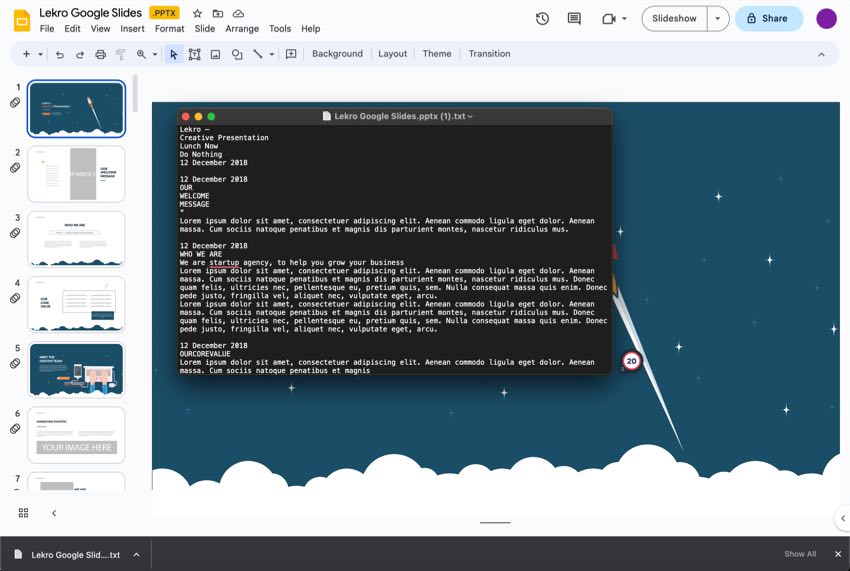
In this example, I used TextEdit to open the file. Here's what it looks like:
Option 2: Click Always open files of this type to set up a default for handling future conversions.
Option 3: Click Show in Finder to look at the file in the Download folder on your computer. While your folders are open, you can work with the file from within the folders.
4. Export a Google Slide Image as a JPEG Image
Google Slides also allows you to save presentations as image files. Click the JPEG image option on the Google Slides export submenu to start. As with the other conversions, the export to a JPEG image occurs quickly.
When converting image files, there's one important difference. The conversion only works for the slide you had open at the time of conversion.
To convert your entire presentation to JPEG images, you must convert each slide separately. Not only is this time-consuming, but it also means that you'll have many .jpg files at the end of the conversion process. But the process does preserve the formatting of the slide:

After the conversion, you'll see the converted file in the lower left screen (Chrome browser). Click the up arrow to get three choices:
Option 1: Click Open to open the file in your browser.
Option 2: Click Always open files of this type to set up a default for future conversions.
Option 3: Click Show in Finder to see the file in the Download folder on your machine.
5. Export a Google Slide as a PNG Image
You can also save a Google Slide presentation as a PNG image. Using this export option has the same limitation as converting to other types of image files—you must convert each slide individually.
Click the PNG image option on the Google Slides export submenu to start. As with the other conversions, the export to a PNG image occurs quickly.
You'll see the converted file in the lower left screen (Chrome browser) when the conversion is complete. Click the up arrow to get three choices:
Option 1: Click Open to open the file in your browser.
Option 2: Click Always open files of this type to set up a default for future conversions.
Option 3: Click Show in Finder to see the file in the Download folder on your machine.
6. Export a Google Slide as a Scalable Vector Graphic
You can save a Google Slide presentation as a scalable vector graphic (.svg). As with other conversions, you must convert each slide individually to image and graphic files.
Click the Scalable Vector Graphics option on the Google Slides export submenu. As with the other conversions, the export to a .svg file occurs quickly.
You'll see the converted file in the lower left screen (Chrome browser) when the conversion is complete. Click the up arrow to get four choices:
Option 1: Click Open to open the file in your browser.
Option 2: Click Always open files of this type to set up a default for future conversions.
Option 3: Click Open with system viewer to choose an application to open the file with:
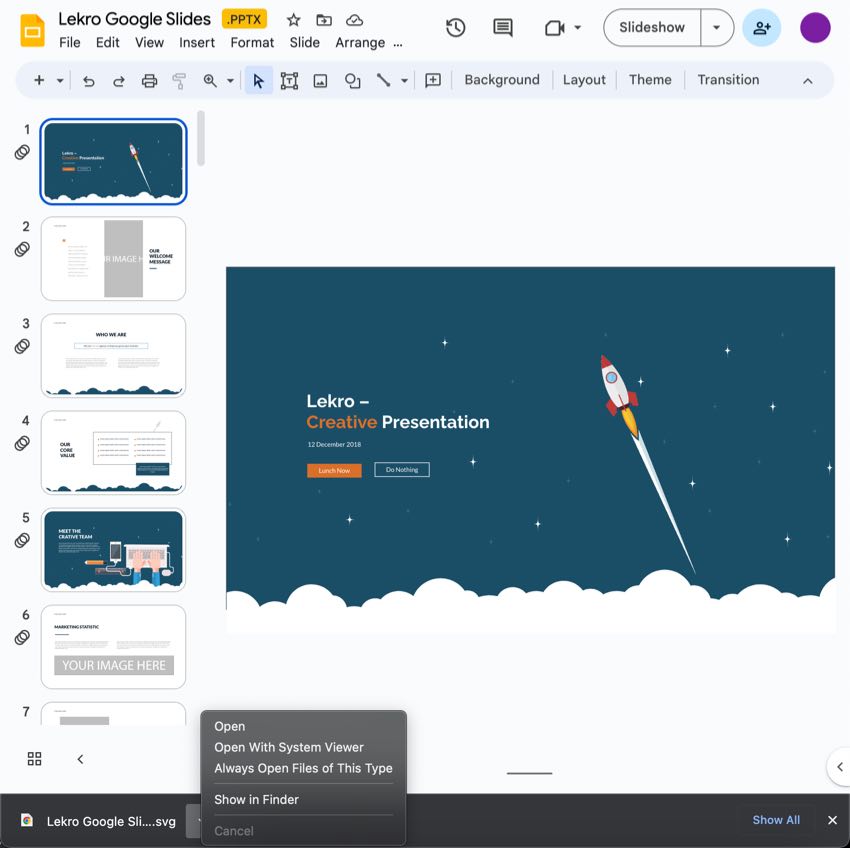
Option 4: Click Show in folder to see the file in the Download folder on your machine.
Learn More About Google Slides
Even though you’ve learned how to open Google Slides in PowerPoint, there’s still more to learn about Google Slides. Google Slides' ease of use, low cost, and wealth of features make it a good choice for presentation software tools. To explore some other presentation software tools, review the following posts:
 Over 25+ Best Presentation Making Software Alternatives to PowerPoint (2025)
 PowerPoint vs. Keynote vs. Google Slides: Best Presentation Software?
 How to Add Color Gradient Fill to PowerPoint Backgrounds
 PowerPoint Online vs. Full PowerPoint on Your Desktop
Try Converting Google Slides to PowerPoint today
As you've learned, converting a Google Slides presentation to PowerPoint isn't difficult.
Because Google Slides' can export to other formats you can use it to create presentations that are compatible with other tools. It’s handy if you're working on a team where not everyone has a Google account. It can also be helpful if your client requires you to submit your work in a specific format.
Try converting your presentations from Google Slides to PowerPoint or other formats works for your next project. Also, don't forget to browse our best presentation templates to speed up your design process and get professional results.
Editorial note: This tutorial was originally published in June of 2017. It's been completely reviewed and updated for accuracy by Sarah Joy.
 By
By


