

There's no need for all your Google Slides presentations to look different. Save time and achieve a consistent look with a Google Slides presentation template.

One way to do this is to design and create your own Google Slides presentation template. Another way is to customize an existing template.
In this tutorial, we examine why you might want to create a presentation template. We'll also explain what a master slide and a Google Slides master layout is. We'll show you how to create your own Google Slides presentation template. Finally, we'll show you how to customize a predesigned template to save time.
How to Make Your Own Template (Quickstart Video)
Do you want to get started on your own template right away? Watch this short video on creating Google Slides templates to get a headstart:

For even more information on how to design Google Slides templates, study the complete tutorial below:
Jump to content in these sections:
- Why Create a Google Slides Presentation Template?
- Guide to Making Great Presentations (Free eBook)
- What's a Master Slide and What Are Master Layouts?
- How to Plan Your Own Google Slides Template
- How to Create Your Own Google Slides Template
- How to Quickly Customize a Google Slides Presentation Template
- Use a Professional Google Slides Presentation Template from Envato Elements
- 5 Google Slides Presentation Template Design Trends for 2024
- 5 Top Google Slides Templates From Envato Elements for 2024
- Templates for Google Slides
- Common Google Slides Questions Answered (FAQ)
- Learn More About Google Slides
- Download Our eBook on Making Great Presentations
- Build or Customize Your Google Slides Template Now
Why Create a Google Slides Presentation Template?
Your Google Slides template controls the impression your presentation leaves in the minds of your viewers. There are any professional presentation templates. But sometimes you need something a little more unique.
When you want to use a unique presentation theme, create your own reusable Google Slides template for presentations.

Be careful, though. Any theme you create needs to be professional. The success of your presentation could depend on it. Consider consulting your in-house design team if you've got one.
Now, let's take a closer look at how to create your own theme in Google Slides. We'll start by creating a master slide and master layouts. Then, you'll apply them to a sample presentation to create your Google Slide template.
What's a Master Slide and What Are Master Layouts?
When creating a presentation template, you need to know what is a master slide in Google Slides. Simply put, the elements that you place on the master slide appear on all the slides in your presentation.
In contrast, a Google Slides master layout defines the layout only for the slides it's applied to. To create a master layout, you'll use a combination of placeholders and graphic elements on each master layout. A master layout can be used for one or more slides in your presentation, or it may not be used at all.
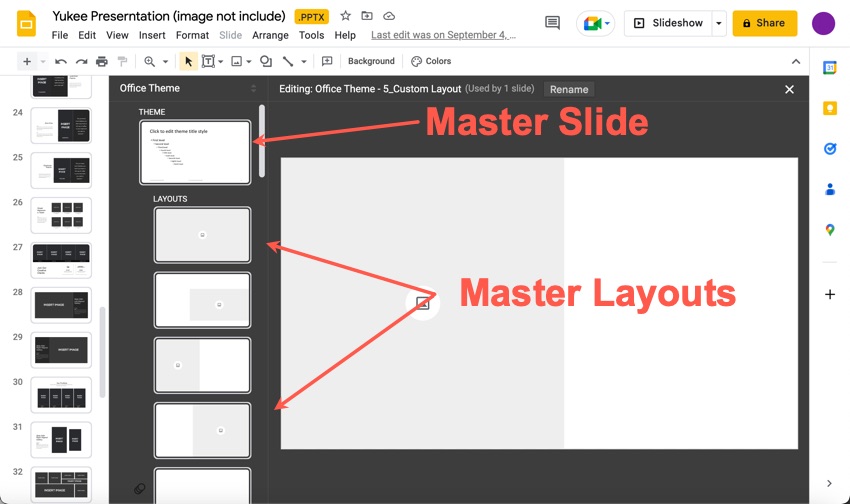
A change made to the master slide appears on all the slides in the presentation. This includes the master layouts.
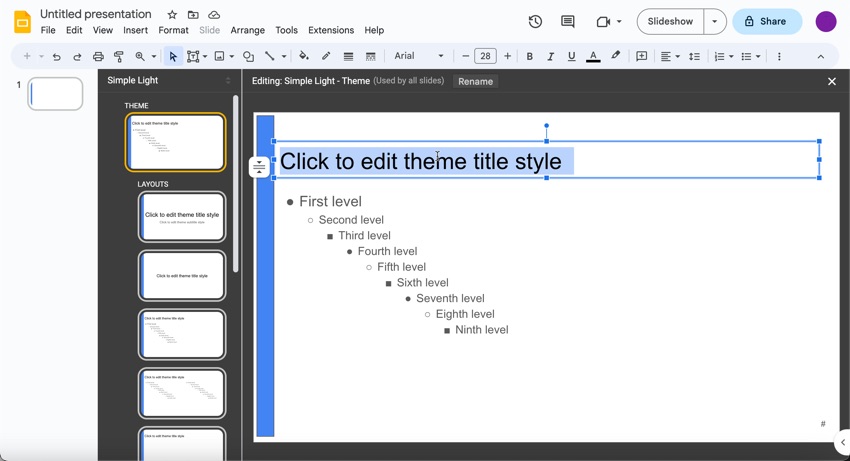
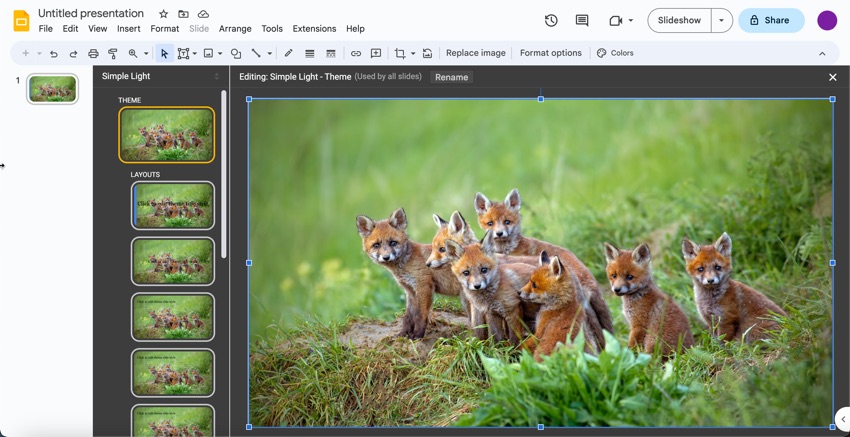
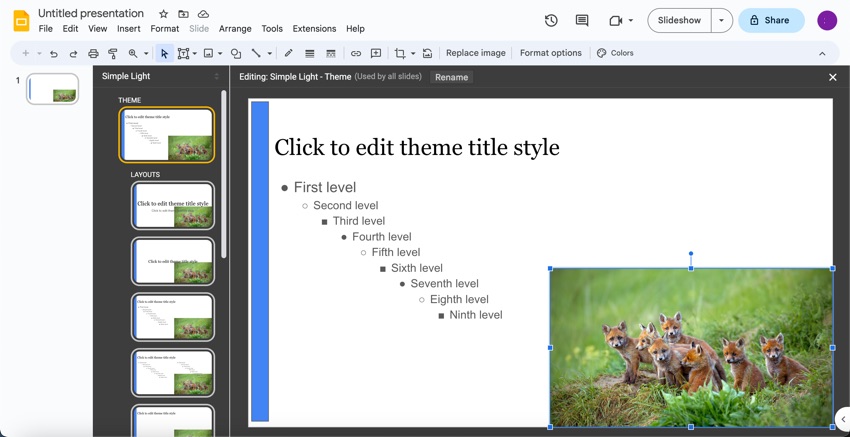
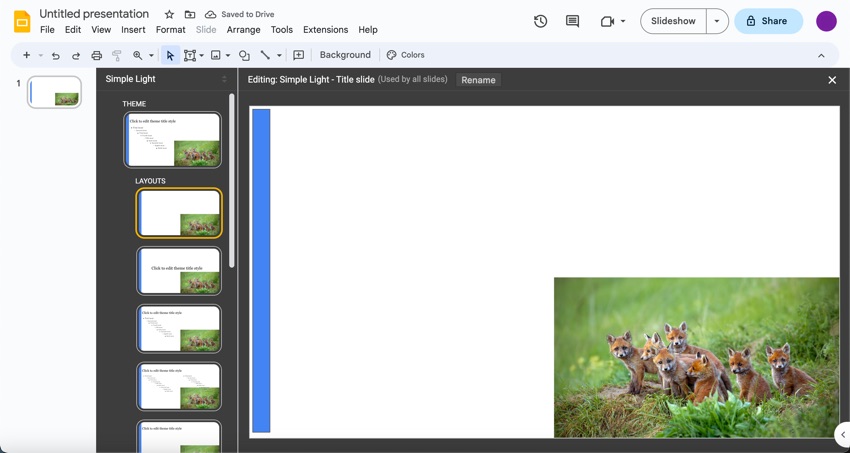
For example, I've added a vertical bar to the left of the master slide. As you can see, the bar is automatically added to all the master layouts:
How to Plan Your Own Google Slides Template
Before you create a Google Slides template, first plan for it. Some questions to ask yourself include:
- What'll I use this presentation template for?
- Who'll see the presentations created with this template?
- How can I make this template fit into my current marketing and branding?
To answer these questions, you need to consider the following:
Step 1. Keep Your Audience in Mind
This step addressed the question: "Who'll see the presentations created with this template?"
The audience makes a difference in what you put in your Google Slides template. Obviously, a presentation template used by a teacher should be different than one used by a marketing department.
Also, consider whether the presentation will be given by a live presenter or accessed online through a site like SlideShare by members of the target audience. If the latter is true, the first few slides are crucial to capturing the reader's attention. They need to be eye-catching, or your presentation will be ignored.
Once you've thought about your audience, it's time to move on to planning the actual design.
Step 2. Consider Design Elements
Your Google Slides template is made of many components, including:
- Fonts. Focus on using fonts that are highly readable. If your presentation will be viewed online, choose a commonly available font. Keep in mind that if the viewer doesn't have the font you choose on their machine, it'll be substituted.
- Colors. Remember that colors may symbolize different things in different cultures. Choose colors that have positive associations for your audience. Or work with your company brand colors.
- Images. It's best to keep your presentation template design simple. Add images and other graphic elements to the various presentation slides. You can even use them on your master layouts. But be sparing on the master slide.
The final template planning step is to plan the design itself.
Step 3. Plan Your Template Design
In this step, you plan what types of slides you'll include in your template. The types you decide upon become the Google Slides master layouts of your template.
Many professional designers create wireframes. These are sketches for each type of slide they would like to include in the Google Slides template. Wireframing can be quite useful. It provides a rough visual of what your presentation is going to look like.
If you're not comfortable with wireframes, create a list of the slide types you wish to include. For example:
- title slide
- intro slide (no images)
- text and single image slide
- columns slide
- conclusion slide
Since you'll likely use the same type of slide layout more than once in a presentation, you don't need to create a lot of master layouts. Figure out the basic Google Slides layouts you need and focus on those.
For another discussion of the presentation design process (this time using Keynote), refer to:

After the planning is done, you're ready to create your Google Slides template.
How to Create Your Own Google Slides Template
Start by opening Google Drive. To open Google Slides, type https://drive.google.com in the Address field of your browser. Google Drive opens.
Step 1. Create a New Google Slides Presentation
Once Google Drive is open, create a new Google Slides presentation. Click the New button in the upper left. Click Google Slides from the drop-down menu. A blank presentation appears:
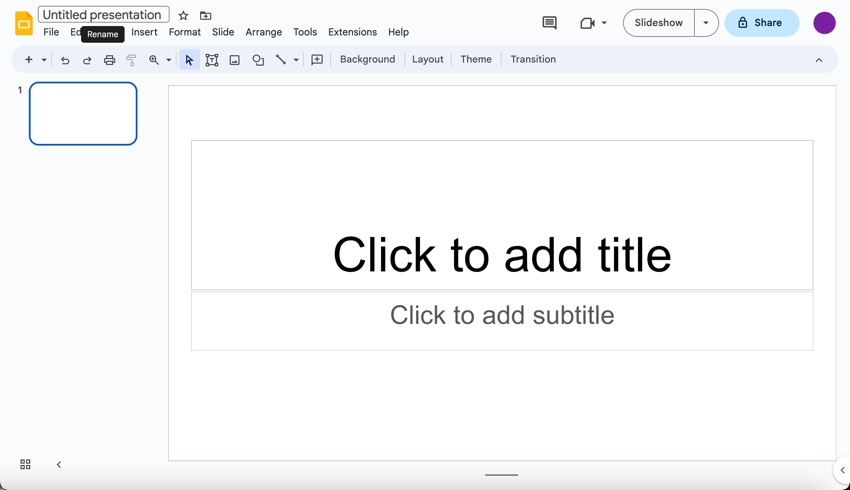
The presentation is assigned one of the Google Slides default themes, but don't worry. We'll soon change that.
Rename your presentation by typing a new title in the upper left.
Step 2. Create a Master Slide
We've already examined the master slide tool. It's time to go back to it so we can define those elements that'll appear on every slide.
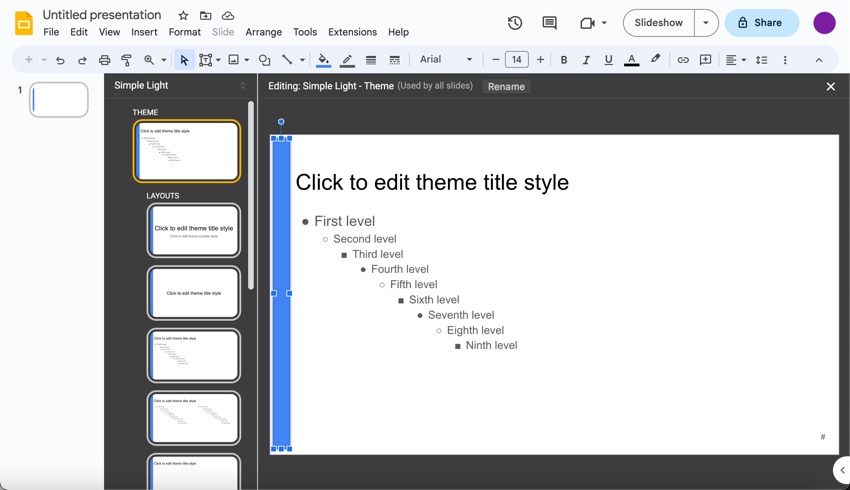
1. Select View > Theme Builder from the main menu:
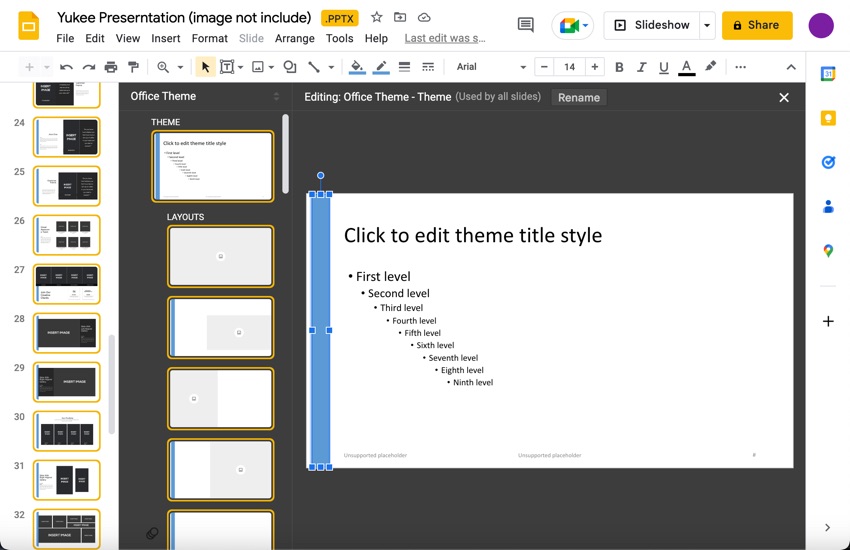
We've already defined a vertical bar for the left of the Google Slides Presentation. It's time to define the elements of the slide, starting with the font.
Change the Font
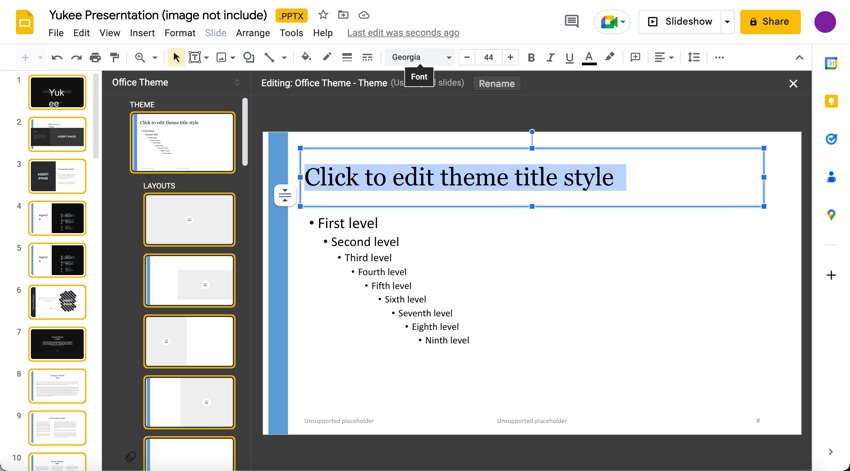
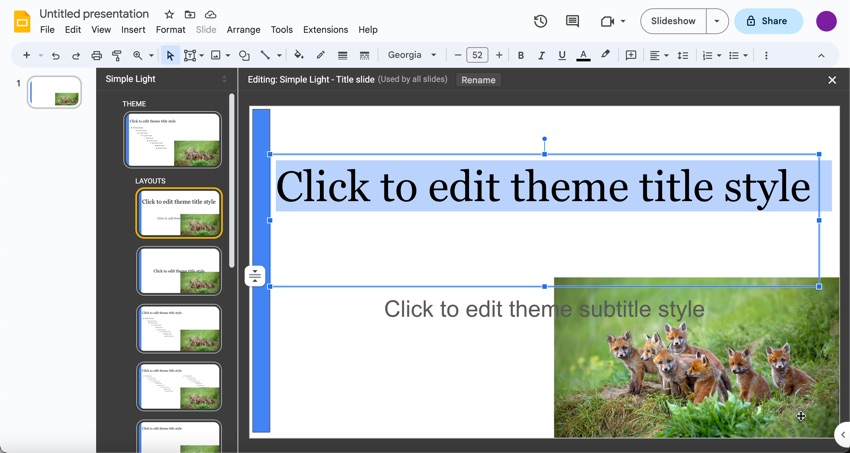
1. Click in the text placeholder on the master slide and select it. You'll notice the current font is Arial:
2. To change the font for each text place holder, click the down arrow to the right of the font name. For this presentation, we'll use the common font, Georgia.
3. Continue selecting the text in each placeholder on the master slide to change the font at each level.
When you're done, the font Georgia will be used throughout the entire presentation. But you could manually change the font for an individual slide.
Add a Graphic
You can also add a graphic element to your Google Slide template. This element appears on every slide, so it's best to be subtle. In this case, I'll add a logo. Here's how to do it:
1. Select the master slide:
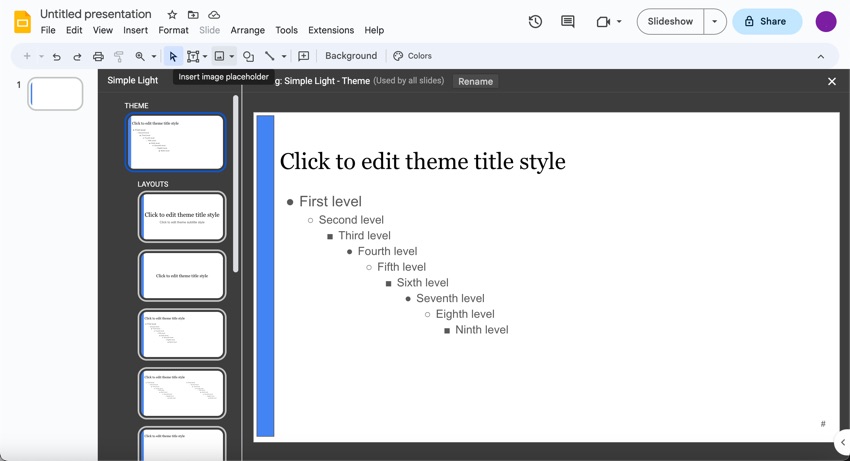
2. Click the Insert Image placeholder icon from the tool bar beneath the main menu. Click Image from the menu that appears:
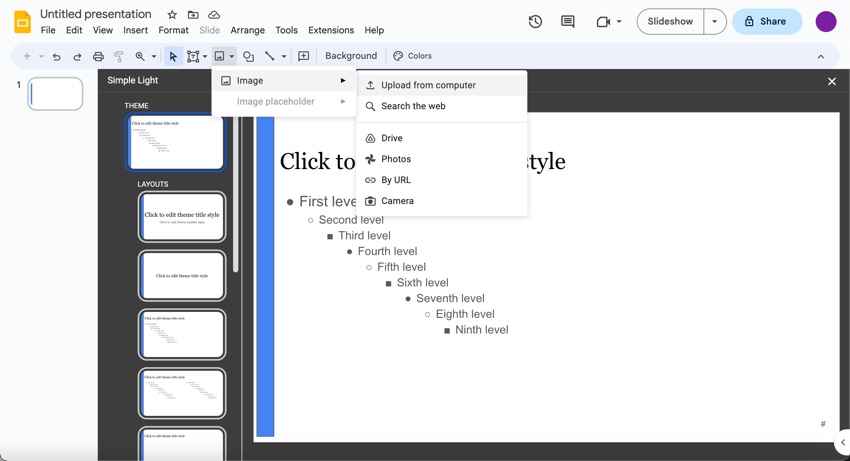
3. Click the Upload From Computer button to download an image from your computer. In this case, I downloaded an image from Envato Elements:
4. Drag the image where you want it to appear on your slides. For this example, I want the image to appear in the lower right corner:
We've just added a vertical blue bar, changed the font, and added an image to the master slide. These changes will be reflected on all the slides in the presentation.
Step 3. Add Master Layouts
You're now ready to start adding your own master layouts from within the master slide tool. Click on View > Theme Builder.
Remove Extra Layouts
To start, delete any current master layouts that you don't need.
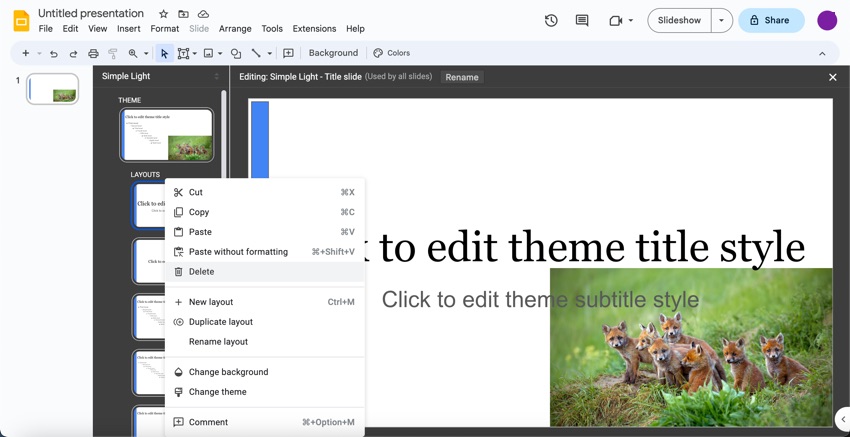
1. To delete a master layout click on it to select it and right-click.
2. Choose the Delete option from the popup menu:
Remove any master layouts you don't want in your Google Slide template.
Change a Master Layout
After you remove unwanted master layouts, you're ready to change any layouts you left in the template to match your own Google Slides layout design. In this example, I'm going to change the master layout for the title slide to make the text left aligned. Let's get started:
1. Click on the title slide master layout to select it:
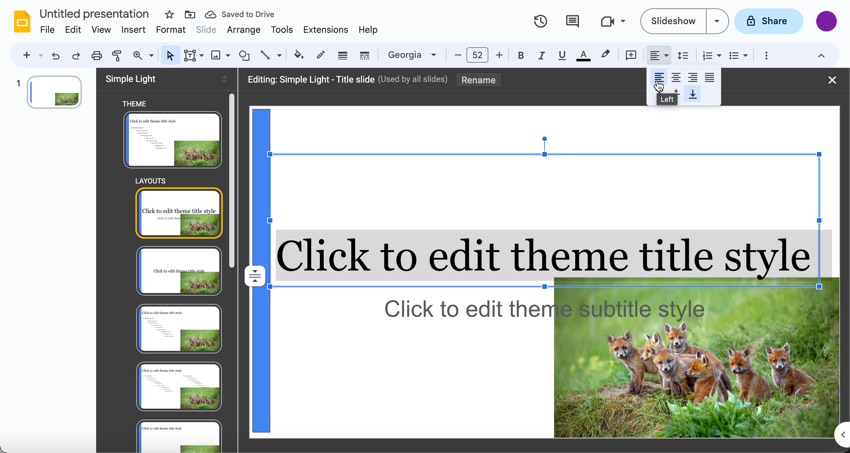
2. To change the text alignment, select the text to be changed.
3. Click the down arrow next to the Align button in the Tools menu. Then, click the Left Alignment button. Here's what the title master layout slide looks like with the text left aligned:
Each time you apply the title slide layout to a slide in your Google Slides presentation, it'll look like your master layout.
Change Another Master Layout
I've modified one more master layout as an example. Here's what I did:
1. To change another master layout slide, select the slide you want to change.
2. Use the editing tools to delete any elements you don't want to keep. (Remember, you can't delete elements from the master slide.) After removing the existing elements, you'll see a blank master layout like this:
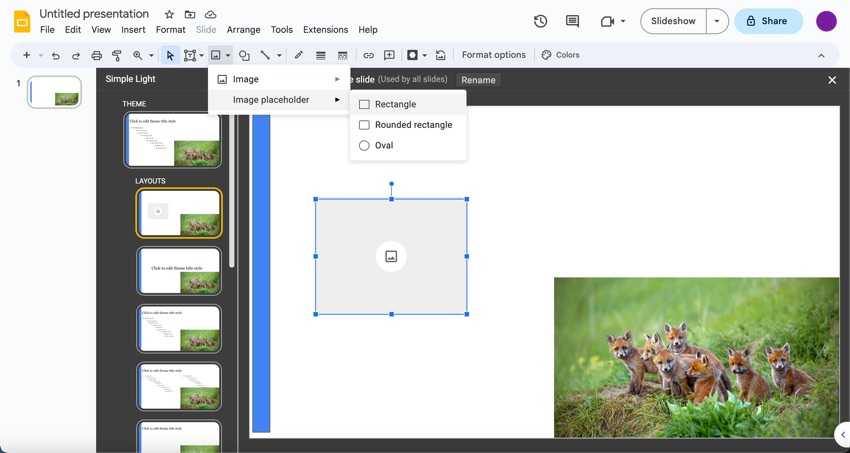
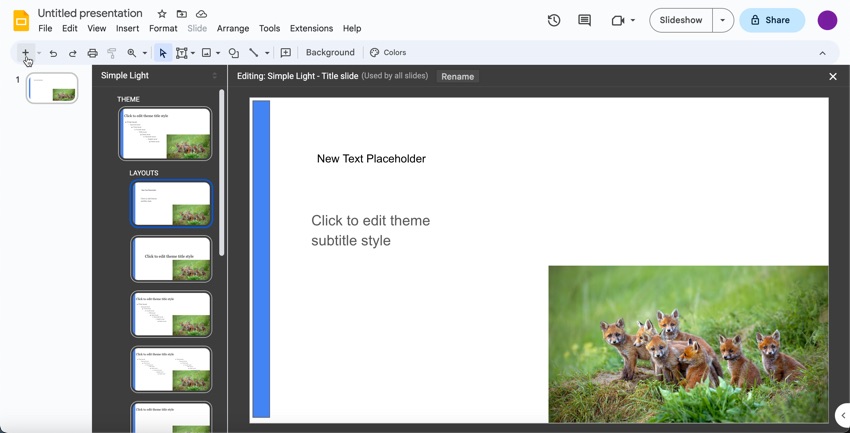
For the master layout, I want to leave room for an image on the left and insert a text placeholder on the right.
3. To add an image placeholder, click the Insert image placeholder button in the toolbar. Then, from the menu that drops down, click on the Image placeholder option. Next, choose the shape that you want your image placeholder to be. Then drag your mouse in a diagonal line where you want the placeholder to be.
4. Leave space around the image. We'll draw a text placeholder that can easily be removed so that the user of the template knows what to do.
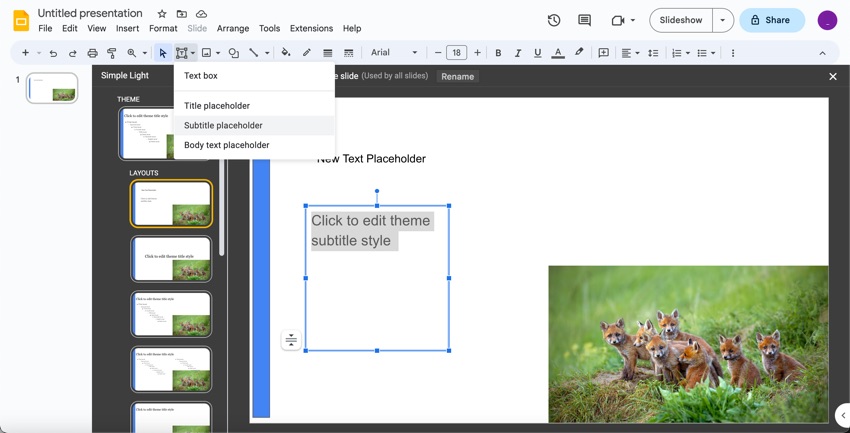
5. To draw the placeholder, click the arrow to the right of the Text Tool from the Tools menu. Select the Body text placeholder option from the drop-down menu. Now the master layout looks like this:
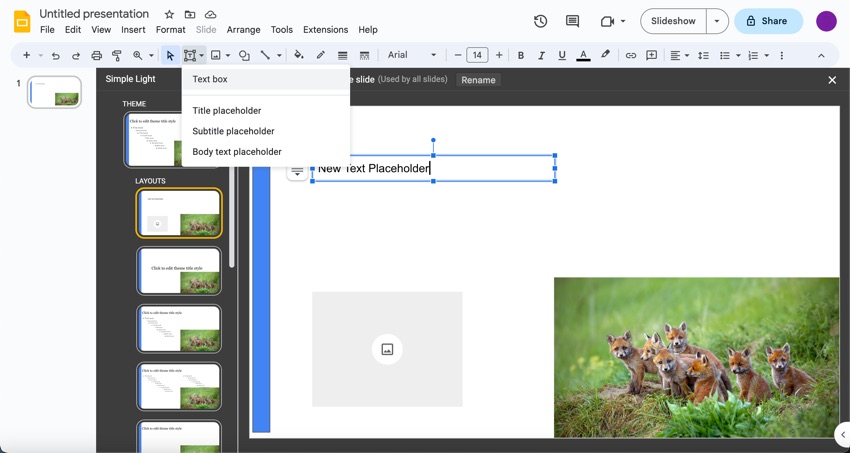
5. Use your cursor to draw the text box placeholder on the master layout.
6. Add a subtitle placeholder with the Subtitle placeholder option from the drop-down menu:
Continue modifying existing layouts. Or, you can add a new master layout slide through the Master Slide tool.
Add a New Master Layout
Here's how to add a new master layout to your Google Slides template:
1. Click on any master layout to select it.
2. Right-click to bring up the drop-down menu:
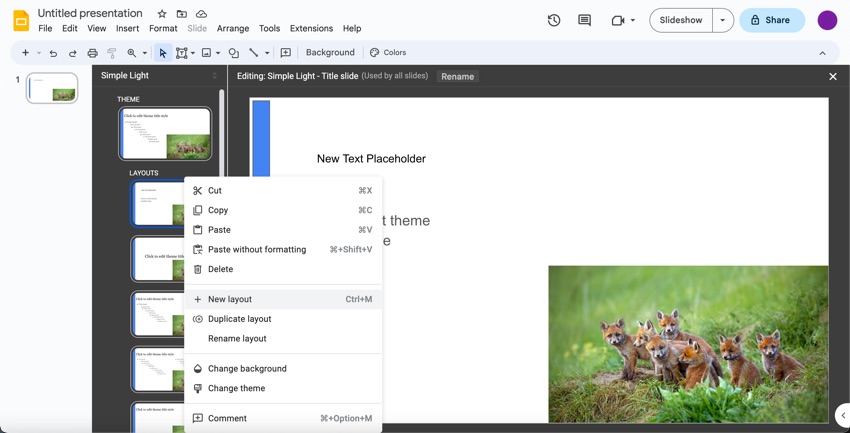
3. Select the New Layout option from the drop-down menu. A new master layout slide appears below the current master layout slide.
4. Change the new master layout as needed using the previous steps.
Apply the Masters to Your Google Slides Template
Once you've created all the master layouts you need, return to the slide authoring view. Your template will be a sample presentation you build using the master slide and master layouts you just created. It can be modified when you need it.
To start, all I've got in my Google Slides template is the title slide:
1. To add another slide to your template, click the down arrow next to the New slide button in the upper left (it looks like a + symbol). A pop-up appears showing the available master layouts:
 By
By


