

Data is taking over the world. And often, we just have so much of it that it's a challenge to find meaning in it to understand the situation at hand.
Spreadsheets are one of the best ways to analyze data sets for their structure and ease of use. But many data sets are just too big to easily get your hands around. You need ways of finding the data you're looking for and narrowing down the dataset.
In this tutorial, you'll learn to apply a Google Sheets filter to limit the data you're seeing. Then, you'll learn the secrets of using the Google Sheets sort function to put data in the sequence you need to see it in.

Watch & Learn
In the screencast below, I'm going to walk you through sorting and filtering data in Sheets. You'll see best practices for how to apply filtering and sorting right inside of Sheets.
Keep following along for an illustrated look at these key Sheets techniques: sorting and filtering your data.
Try it Out
While you're working through this tutorial, don't hesitate to follow along with my examples using an example dataset. I've prepared some sample data that you can use to try out sorting and filtering in Sheets.
Download the file here, upload it to Sheets, and use it to apply the techniques I describe in this tutorial.
1. Google Sheets Sort
Sorting data in Sheets is all about changing the order that the data in your spreadsheet appears in.
When I think about sorting, I think about two key factors:
-
Which column should the data be sorted based upon?
For example, you might want to sort a list of sales by the total amount of the sale. -
How should the data be sorted?
For example, the sales data should be sorted from largest to smallest.
One key to sorting is ensuring that an entire table sorts together. Typically, each row in a data can be thought of as a "record", or a single data point. Each row contains one data point, and each column has a different attribute, or way of describing that data.
For example, each row in your spreadsheet might represent a sale that you made to a customer in your online store. Then, each column (attribute) is going to capture a key detail about the sale, like the time it was made, the customer's address, and the total amount for the sale.

When you sort that data, it's crucial that it stays grouped together properly. If you only sort the column that contains the amount of the sale, suddenly you've got mismatches in your data! A $100 sale is now assigned to the wrong customer, for example.
This is why sorting data properly is so crucial. Let's walk through a few examples below.
How to Sort Data in Google Sheets
One of the most common Google Sheets sorting tasks is to sort your data from A-Z. It usually makes reading the data easier, and it also simplifies finding specific rows that you know you're looking for.
Before I start to do any sorting, my first step is to always highlight the entire table. This minimizes the chances that we'll accidentally sort by the wrong column, or only sort part of the data.
Once you've got the entire set of data highlighted, go to the Data > Sort Range menu option, as you can see in the screenshot below.
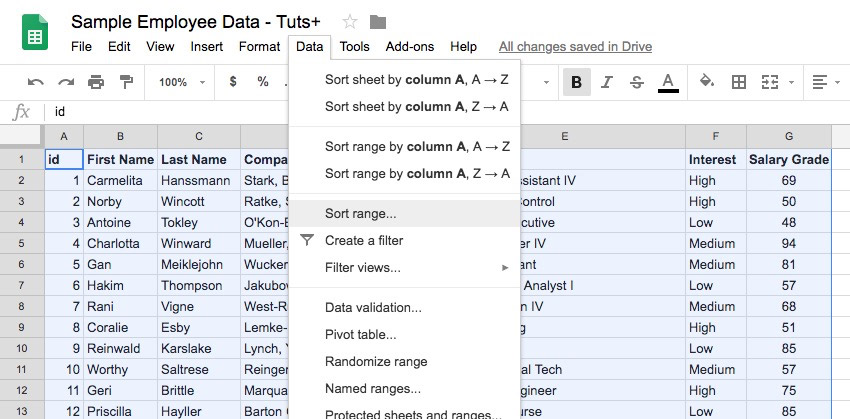
Even though there are built-in options to sort from A-Z or Z-A, it's much easier to use the tool that's built into Sheets for sorting. In the screenshot below, you can see a typical example of how to apply a sort. You can simply choose the column that you want to apply the sort to.
Also, make sure that you're sorting in the "direction" you want. For text data, you can sort alphabetically (A-Z) or reverse alphabetically (Z-A.)

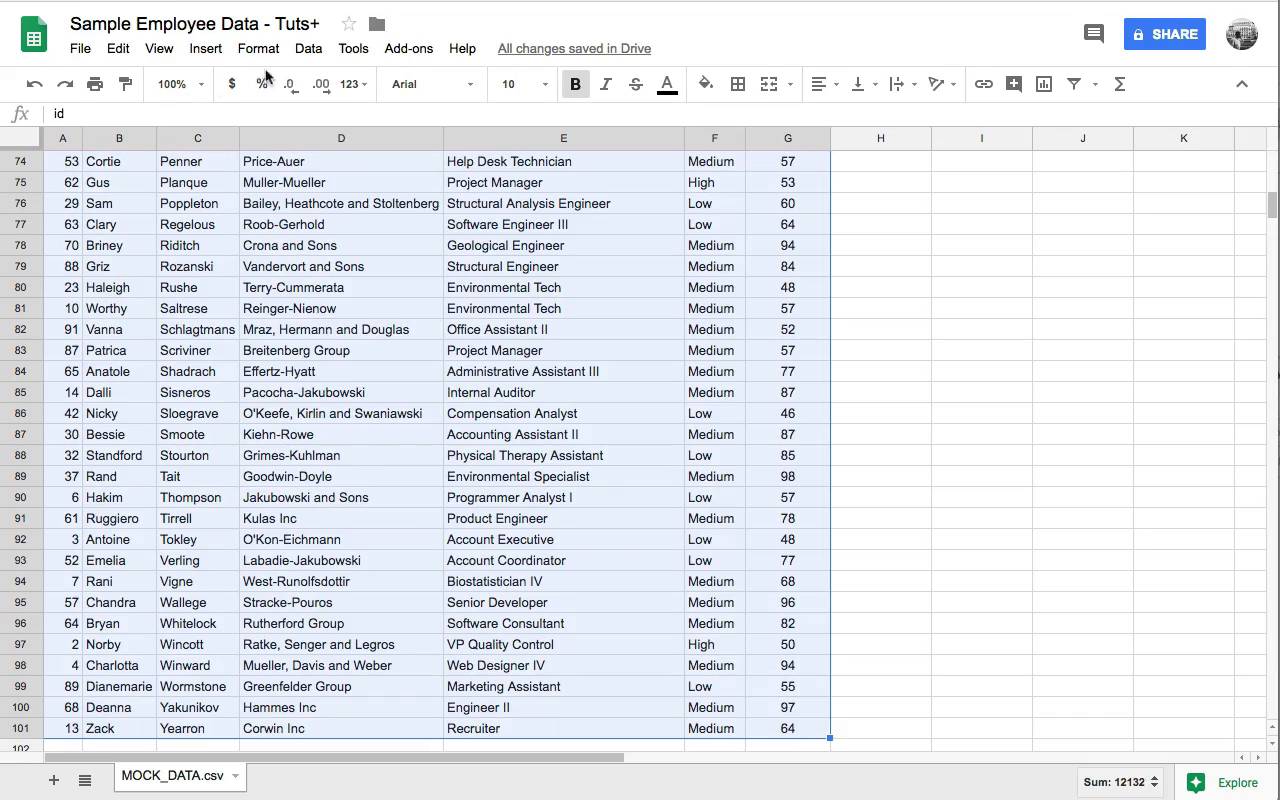
Once you do that, you'll find your data is sorted, safe and sound! Notice in the screenshot below that we've sorted our data based on the name of the company that the candidate works for.

It's also a good idea to keep an eye on your data as you sort it. The worst-case scenario is that you only sort one column, while the rest of the data stays in place. In the screenshot above, the fact that the ID column is no longer (1, 2, 3, 4...) in order shows that all columns of the data moved in lockstep.
2. Google Sheets Sort Based on Two Rules
What if you want to sort based on two categories? For example, in our employee data, maybe we want to sort based on their level of interest, and then the name of their company. Let's try out an example just like that.
With the data highlighted, return to the Data > Sort Range menu. This time, click to Add another sort column to add a second criteria for your data sorting. Now, you can sort based on multiple rules.
In this menu, order matters. Notice that the first rule says "sort by", and then the second rule says "then by." In the example below, I've set the menu to sort based on interest alphabetically, and then by company alphabetically.

Use these multi-level sorts to really specify how the finished data should appear. You can add as many sort rules as you want to get the data order just right.
3. Use Google Sheets Filters
While sorting changes the order and sequence of the data in a spreadsheet, filtering changes what data is currently visible in the spreadsheet. Let's learn how to apply Google Sheets filters so that we can narrow down the data that's in view.
To start adding filters, highlight your data table. Then, go to Data > Create a Filter on the Sheets menu.
Now that you've turned on filtering, you'll see a small icon on the upper right corner of the header. Click on that icon, and then you'll see a list of values that are in that column in the pop-up menu as you can see in the screenshot below.

On this pop-up, simply toggle off or on the criteria that you want your data to meet. When you press OK, the spreadsheet will be narrowed down to only show data that matches those Google Sheets filter rules.
Much like sorting, you can stack multiple levels of filtering. In the example below, I added a filter to the Salary Grade column.

This is a picture-perfect example of how useful filtering can be to make sense of a data set. By combining an "interest" filter with a "salary grade" filter, I've got a refined list of two candidates out of a possible 100.
It's an important distinction to remember that filtering data doesn't delete or remove data. It's still behind the scenes, waiting to show again as you change the filtering settings.
Watch Out for "Missing" Data
Here's something to think about while you're working with filtered data: you need to be careful about what data you leave behind the scenes. I can't tell you how many times I've been working in a spreadsheet and missed out on the fact that data was "missing" because it was removed from the Google Sheets filter view.
I always keep my eye out for two things if the data isn't making sense:
- The filter icon at the top of the column
- The row numbers in Sheets on the left side

These two tricks are perfect for ensuring that you never "miss" data in the spreadsheet.
Recap & Keep Learning
Filtering and sorting are crucial tools for narrowing and selecting data. Check out the tutorials below for more tips on using Sheets for data review and analysis.
 20 Free Google Sheets Business Templates to Use in 2018
 How to Use (Timesaving) Google Sheets Keyboard Shortcuts
 Google Sheets to Excel: How to Move Back & Forth Between Spreadsheets
 How to Edit & Format Cells in Google Sheets Spreadsheets
You've just learned how to use filter and sort in Google Sheets. How do you handle working through huge data sets? Do you use the Google Sheets sort and Google Sheets filter tools to narrow down your data sets, or do you use other analytical tools?
 By
By


