

Slide timing is always helpful in presentations, and you can use it to auto-transition between slides. In this screencast you'll learn how to time slides on Google Slides.
Let's get started with setting the timing for slides to change. One limitation is that you've got to set the same timing between each slide.
: Guide to Making Great Presentations
How to Time Slides on Google Slides (Quick Start Guide)
Do you want to get started on using Google Slides to time slides right away? Watch our quick start video below:
Watch this short tutorial screencast or learn even more in steps below, that complement this video.
Jump to content in this section:
How to Set Slide Timing on Google Slides
Google Slides has many features related to timing including auto advance and automatic looping. Learn more in the following steps:
1. Choose a Template

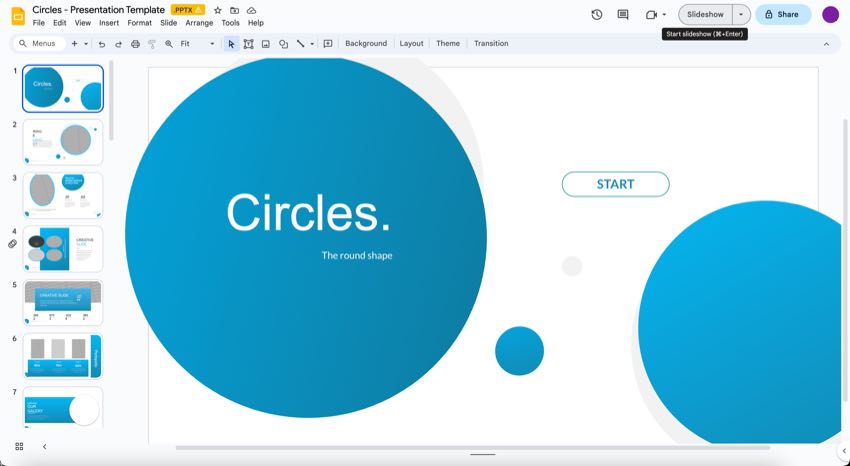
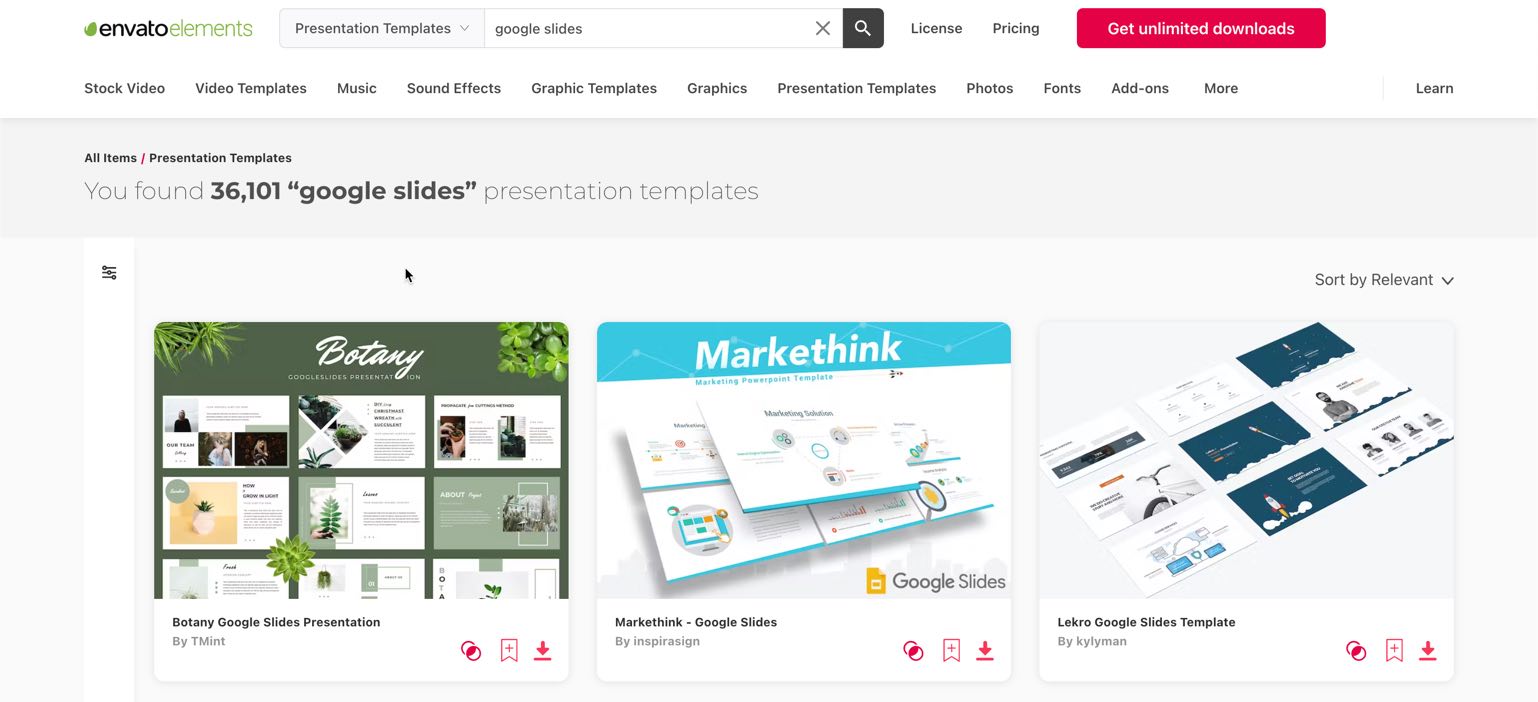
In this tutorial, we'll work with the Envato Elements Google Slides template, Circles. Download it now if you'd like to follow along.
Circles is a Google Slides template that you can use to add your Google Slides auto transition or Google Slides auto advance. It comes with over 150 total slides and five premade color schemes.
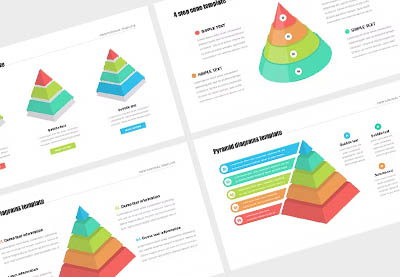
Circles also comes with handcrafted infographics and illustrations. You can easily add an image by dragging and dropping an image of your choice into the picture placeholder.
2. Choose a Timing Between Slides
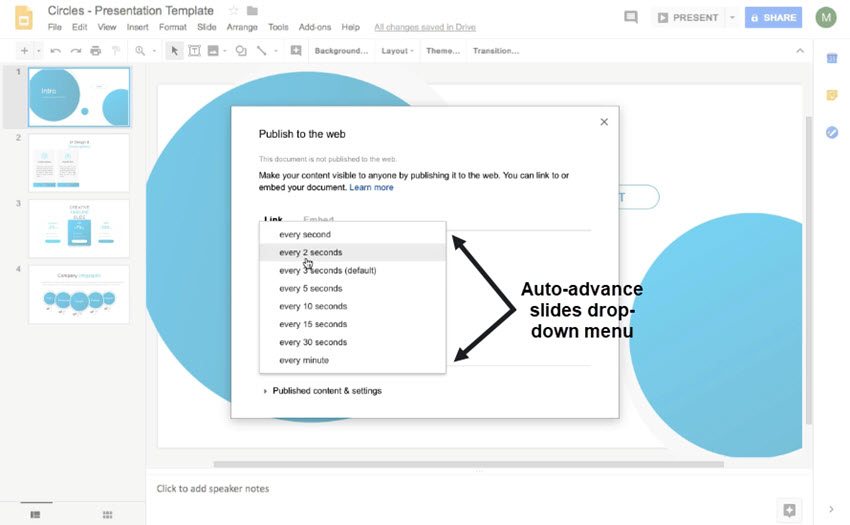
Let's go to the File menu and click on the Share menu. Next click the Publish to the web option. On this menu you can choose a timing to play for each and every slide on the drop-down menu.
There are a variety of pre-built options that you can choose from here. This sets up the timing that we want to play between each slide.
2. Test Your Specific Timing
.jpg)
Let's choose a short timing to demonstrate. Make sure to also check the options underneath such as Starting the slideshow as soon as the player loads or Restart the slideshow after the last slide if you want your presentation to loop.
3. Publish a Timed Video
.jpg)
Now, let's go ahead and publish the video with the link selected. We'll paste it in and open it up and you can see here that after a few seconds that we're auto-advancing through the slides according to our timings.
That's all there is to it. While the option is somewhat limited it really comes in handy if you need to leave your slideshow on Google Slides autoplay with each slide cycling through a loop.
How to Get Google Slides to Play Automatically
Here's how to use the Google Slides auto-transition on your slides:
1. Present Mode

Click on the Slideshow button above the ribbon to start Presenter mode.
Presenter mode has many helpful features that you can use to make your presentation look more professional, such as:
- Google Slides automatic transition
- closed captions
- a pointer
- and more
2. Open the Options Menu
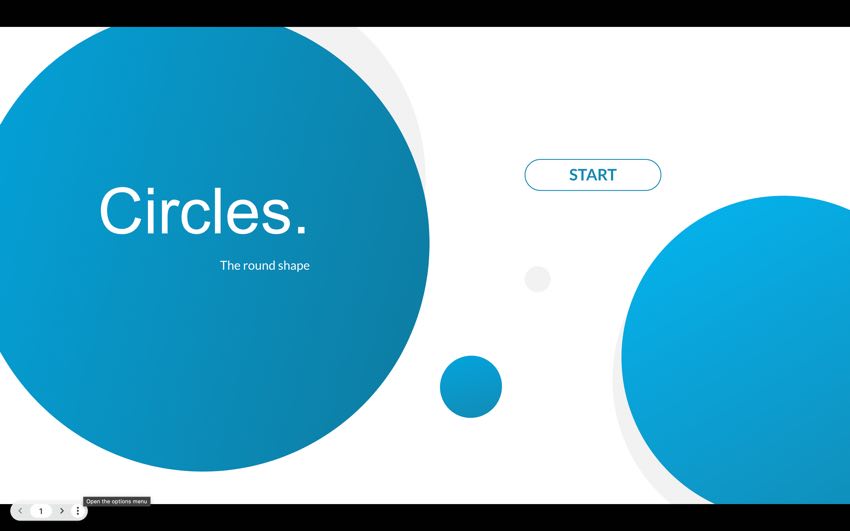
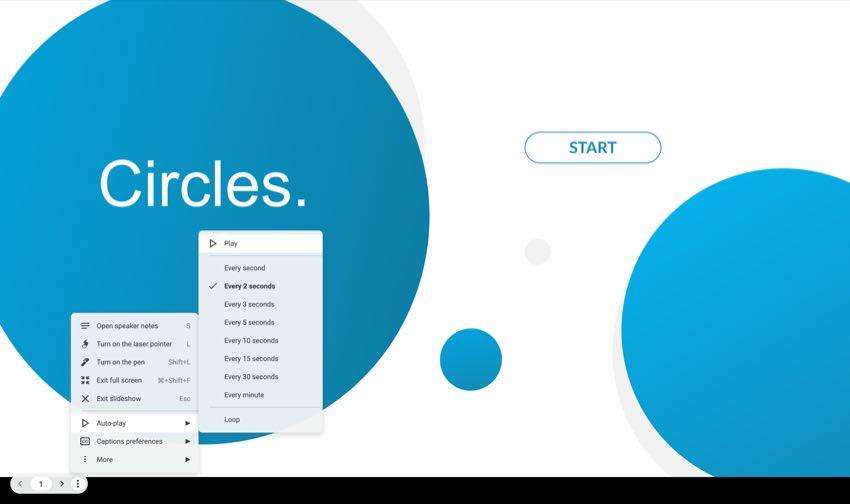
If you want to know how to get Google Slides to play automatically, drag your mouse to the lower left corner of the screen.
When you click on the three dots, it’ll open a menu. In the menu, you get several options:
- Open speaker notes
- Turn on the laser pointer
- Turn on the pen
- Exit full screen
- Exit slideshow
- Auto-play
- Captions preferences
- More
3. Set Auto-play

The menu has a feature you can use as a Google Slides automatically advance slides feature. This feature is called the Auto-play feature.
Click on the Auto-play option. Another menu appears when you click on this option in the menu. This is where you choose how fast you want your slides to move on. You can choose one second to a minute. You can even choose to put your slides on a Loop.
4. Play Your Video
Once you choose what timing you want for the Google Slides auto-advance feature, you’ll know the time of your choice is chosen when a checkmark is beside it. Next, click Play. Now, your slideshow should start playing.
Find More Premium Google Slides Templates
Looking for a template to use for your next presentation? Read these articles for curated lists of presentation templates:
 24 Best Google Slides Infographic Templates for Presentations in 2025
 33 Best Google Slides Templates for Business Presentations in 2025
 20 Cute Google Slides Themes With Fun, Colorful Designs (2025)
 30 Creative (& Aesthetic) Google Slides Presentation Design Ideas for 2025
More Envato Tuts+ Google Slides Tutorials
Learn even more about how to create presentations using Google Slides in our Google Slides learning guide. We also have an assortment of quick Google Slides lessons such as these:
.jpg) How to Quickly Get More Themes on Google Slides
How to Quickly Get More Themes on Google Slides
 How to Create Professional Google Slideshows for Business Presentations
 How to Present Your Google Slides Slideshow Presentation
Google Slides templates can take your slide decks to the next level. If you want to get a head start on your presentation design, check out the Google Slides presentation templates in this article:
Download a Premium Google Slides Template Today!
Do you want to save time? Do you want an impressive slideshow? You can get both of those with premium Google Slides templates from Envato Elements. If you want to know what Envato Elements is, then keep reading.
Envato Elements is a premium subscription service where you pay a low monthly fee to become a subscriber. Once you become a subscriber, you gain unlimited access to digital assets. This includes many different digital assets, such as:
- premium Google Slides templates
- fonts
- audio
- images
- More
Professionals make every premium template look impressive and stylish. You also save time using a premium template because it's already designed for you.
A good template will have slides named. All you need to do is add your text into text placeholders and pictures into the picture placeholders. You still can if you like to add personal touches to your presentation template design.
Try Using the Google Slides Automatic Transition Feature in Your Slide Show!
After downloading a premium template, try using the Google Slides automatically advance feature for your slides. When you use this feature, it’ll make your presentation smoother and look professional.
If you make many Google Slides slideshows, sign up for an Envato Elements subscription. It’s easy to sign up, and after signing up, you gain access to all the digital assets you need.Editorial Note: This tutorial was last published in October of 2018. It's been completely reviewed and updated by Sarah Joy for accuracy and relevancy.
 By
By


