
 Lessons: 17Length: 39 minutes
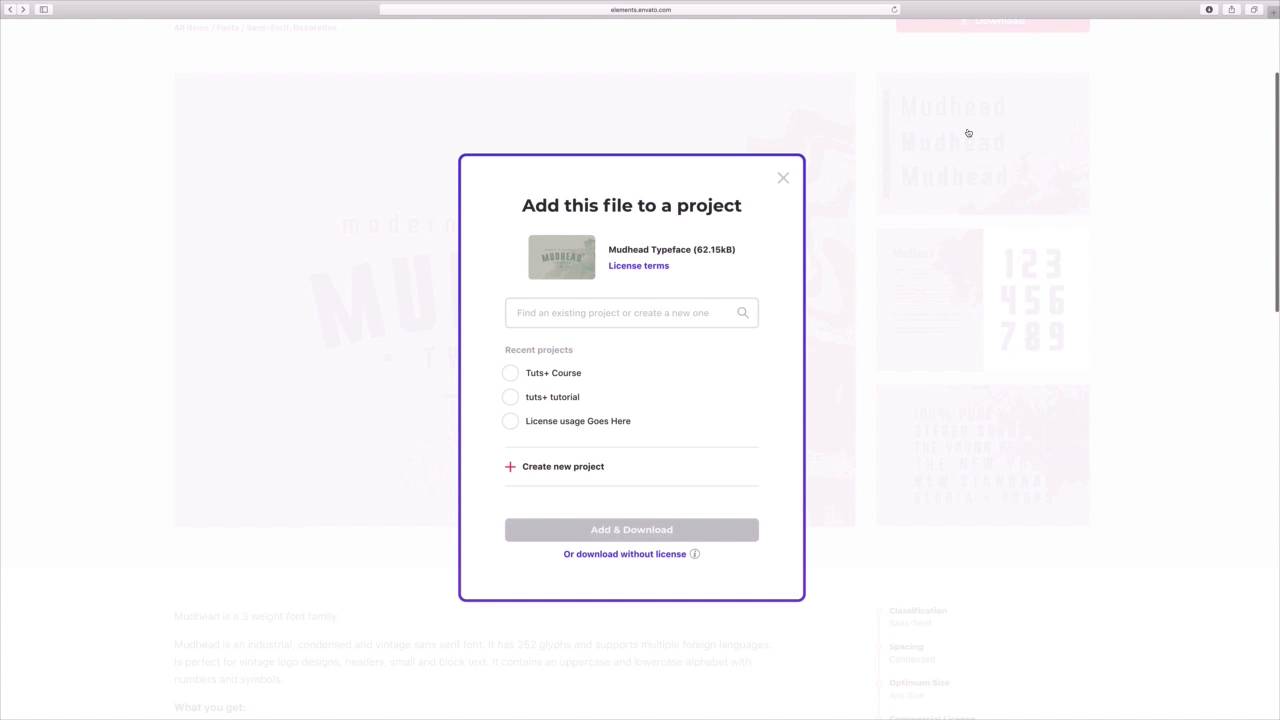
- Overview
- Transcript
4.4 How to Add and Use Custom Fonts in Apple Keynote
You don't have to use the "same old" fonts in your presentation. Learn to explore custom fonts, install them, and add them to your Keynote presentation.
1.Introduction
1.1Introduction00:58
2.Working With Templates
2.1How to Choose a Keynote Template03:02
2.2How to Edit a Keynote Slide Layout02:54
2.3How to Edit Keynote Slide Masters02:37
3.Working With Multimedia and Animations
3.1How to Add Music to Apple Keynote02:53
3.2How to Add Images in Apple Keynote03:14
3.3How to Use Apple Keynote Magic Move01:41
3.4How to Make a Video With Apple Keynote01:58
3.5How to Add a Background Image in Apple Keynote03:18
3.6How to Use Keynote Animations02:26
4.Building Charts, Infographics, and Custom Visuals
4.1How to Edit a Keynote Chart02:23
4.2How to Edit Keynote Infographics01:55
4.3How to Create Device Mockups in Apple Keynote02:22
4.4How to Add and Use Custom Fonts in Apple Keynote02:38
5.Presenting With Confidence in Keynote
5.1How to Add and Use Presenter Notes in Apple Keynote02:14
5.2How to Broadcast Your Presentation With Keynote Live01:55
6.Conclusion
6.1Wrapping Up00:39
4.4 How to Add and Use Custom Fonts in Apple Keynote
Custom keynote templates from Envato Elements offer virtually unlimited options to customize your presentation. But these themes aren't the only way to make a slide truly your own. Sometimes it really pays to use a custom font. This moves beyond built in textiles and enters a new world of design. Unique fonts are truly works of art and you can make them part of your own keynote projects. I'm working in a presentation here and I'm looking for something different. I've added images and graphics, change the layout and more, but I still want to expand my creativity on this slide. Custom fonts are a great way to do this. Envato Elements offers an entire section of stunning custom fonts. As I look at my slides, changing up the font styles seems like the way to go. I'll jump over to the font section on Elements and start browsing. As you can see, Elements offers thousands of fonts in multiple categories, choose from serif, script, handwritten, normal, expanded, and more. For my presentation, I think a decorative design might work best. I'll click on the category here on the sidebar and Elements will filter my results. I can scroll down through the results and explore the different options. Each thumbnail presents a preview of the font in use. When I find one that looks promising, I can click to expand it. Elements will show me a larger preview description and the key download option. If I like it, I'll go ahead and click on download here in the corner. Elements will ask me for a license usage. This just describes how I intend to use that font. I'll choose an option here and click add and download. A zip file will download and I'll jump over and extract it to a new folder. Next up, I need to install my new font and get it ready to use. To do this on a Mac, I need to find in launch the font book app. This is typically found in launchpads other folder, or I can find it with Spotlight search. I'll open it up and now it's time to add the font. To do this, I'll click on this plus icon on the menu bar. A file browser will open up. Here, I need to navigate to where my font file is stored. I'll click on one of the font files of selected and then choose open. Font book will import my new font and store it in the user section. That's it. Installing a custom font is incredibly easy on Mac. Using it in Keynote is just as simple. I'll reopen my presentation here. Let's say I want to use my new font on this title text. I'll double click in the text box to select it. In the text sidebar here on the right, I'll come over to the font drop down and click to expand it. Right on cue, my new file has been added right in alphabetical order. I'll click to select it and Keynote will instantly apply it to my text. It needs to be resized just a little. I'll move down to the font size arrows and scale it to fit perfectly. To apply the new font elsewhere in my presentation, I can simply repeat the same steps. Or I can add brand new text boxes and select a new font right from the start. As you can see, matte, keynote and elements make it super easy to add custom fonts to your presentation. Thanks for watching.


