
 Lessons: 17Length: 39 minutes
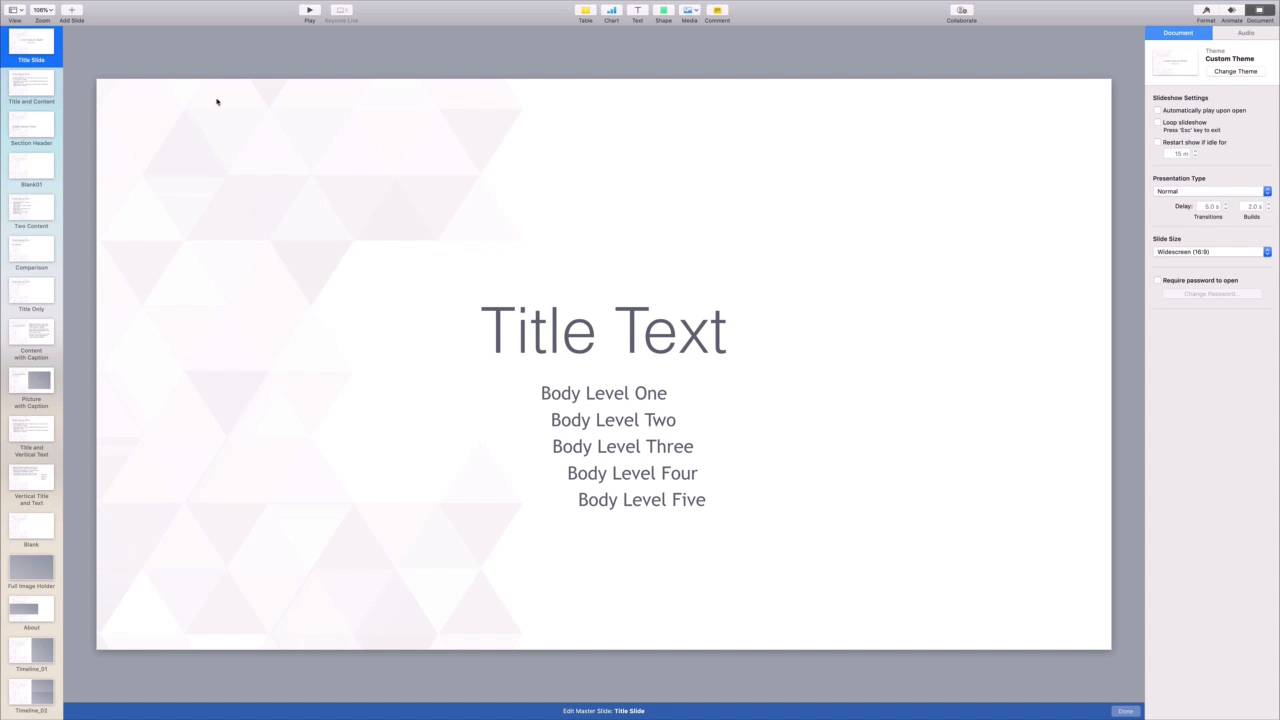
- Overview
- Transcript
2.3 How to Edit Keynote Slide Masters
Want to edit multiple slides at the same time? You need to learn to edit slide masters, which control the design for several slides. Edit a master to add shared objects like logos and tag lines.
1.Introduction
1.1Introduction00:58
2.Working With Templates
2.1How to Choose a Keynote Template03:02
2.2How to Edit a Keynote Slide Layout02:54
2.3How to Edit Keynote Slide Masters02:37
3.Working With Multimedia and Animations
3.1How to Add Music to Apple Keynote02:53
3.2How to Add Images in Apple Keynote03:14
3.3How to Use Apple Keynote Magic Move01:41
3.4How to Make a Video With Apple Keynote01:58
3.5How to Add a Background Image in Apple Keynote03:18
3.6How to Use Keynote Animations02:26
4.Building Charts, Infographics, and Custom Visuals
4.1How to Edit a Keynote Chart02:23
4.2How to Edit Keynote Infographics01:55
4.3How to Create Device Mockups in Apple Keynote02:22
4.4How to Add and Use Custom Fonts in Apple Keynote02:38
5.Presenting With Confidence in Keynote
5.1How to Add and Use Presenter Notes in Apple Keynote02:14
5.2How to Broadcast Your Presentation With Keynote Live01:55
6.Conclusion
6.1Wrapping Up00:39
2.3 How to Edit Keynote Slide Masters
When you're building a keynote presentation efficiency is key. Your project may grow to include dozens of different slides. It can get really time consuming to make edits to each one. That's why it pays to find techniques that help you make changes faster. Suppose you're creating keynote presentation and you want to apply an identical edit to every slide. Let's learn how. I have a presentation here and as you can see, it's rather lengthy. I want to add my fictional poems, logo to every slide in the deck. With over 50 slides, I'd rather not think about having to make the identical change over and over again. Fortunately, with editing Keynote's master slides, I don't have to. Think of master slides as a kind of hierarchy. Each slide layout is represented by a master slide, and edit to the master slide automatically applies to all of this slides below it. To demonstrate, I'll go ahead and navigate to the Master View. I'll come up to the view tab at the top of my screen, and on the drop down, select edit master slides. Watch as the sidebar changes from a preview of each slide to a preview of each type of slide. You'll see title slide, full picture, title and content and more. This is where the flexibility of Envato elements Keynote templates come in. Master layouts are carefully crafted to be easily edited. All you need to know is the type of slide you want to edit. Thinking back to my presentation, title and content represents the body of the slides. I'll click on that option here on the sidebar. What I'm now doing is editing the master of every slide with this layout whether I have one such slide or 300. Any change I make here will be reflected on each and every individual slide. As mentioned, I want to add my logo to one corner. To do this, I'll come up here to the center. Menu and click on media drop down. Keynote represent a list of options for importing new content. I like having the flexibility of a browse window so I'll click choose here. Keynote shows me there's explore window and I can browse to where the logo image is stored on my Mac. Once I find it, I click once to select it and then choose Insert in the lower right. Keynote will quickly import the image onto the center of the slide canvas. As with any image, I can click and drag to move it around the slide and resize it by pulling on one of the corner handles. I'll make a couple of adjustments as you're seeing me do here. Once it's blazed, it's time to see how it looks in the body of the presentation. To do this let's go back up to t view tab and select master slides. I'll start navigating through my slides here and as you can see, the logo is neatly place on identical spot on each one. The master slides added only took a few seconds, whereas you could spend hours trying to manually edit every slide. Remember, if you have slides with different layouts, this first master edit won't apply to them. But all you need to do is replace these same steps for each master in your presentation. This is one of my favorite tricks for efficiently editing slides in bulk. Thanks for watching.


