
 Lessons: 17Length: 39 minutes
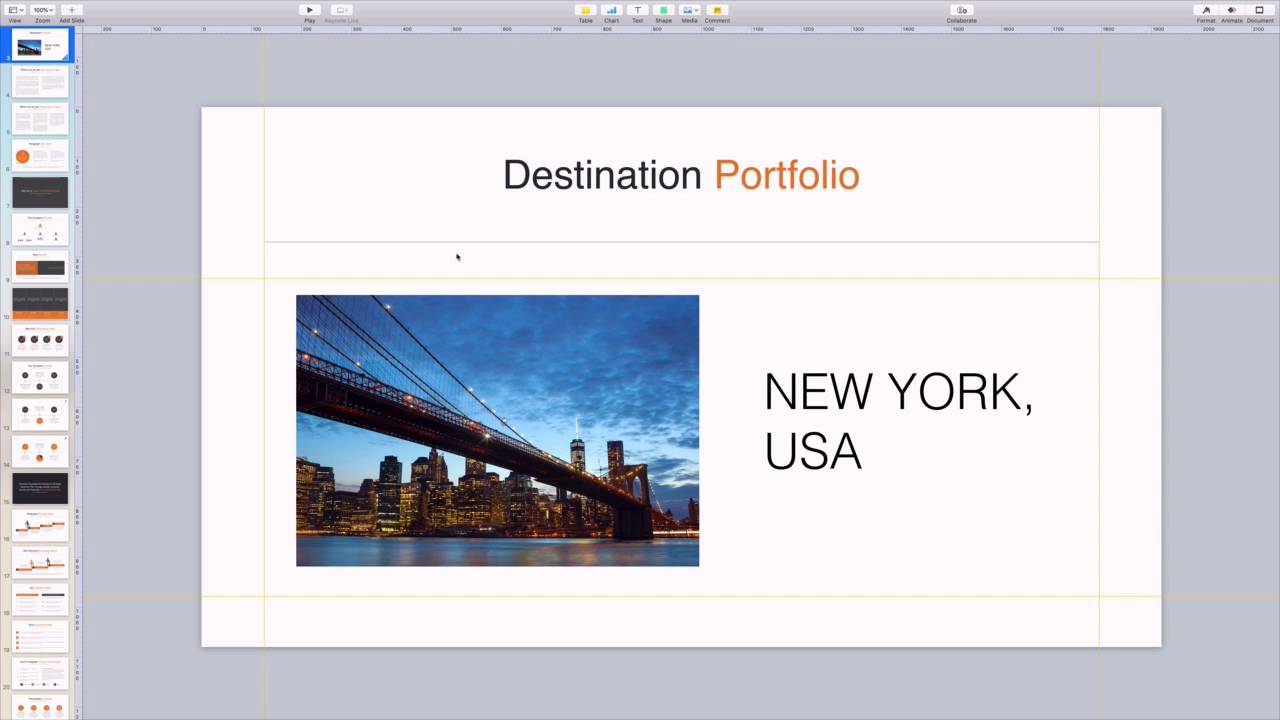
- Overview
- Transcript
3.3 How to Use Apple Keynote Magic Move
Magic Move blends the best between object animations and slide transitions. Learn to use it for smooth shifts between slides in this lesson.
1.Introduction
1.1Introduction00:58
2.Working With Templates
2.1How to Choose a Keynote Template03:02
2.2How to Edit a Keynote Slide Layout02:54
2.3How to Edit Keynote Slide Masters02:37
3.Working With Multimedia and Animations
3.1How to Add Music to Apple Keynote02:53
3.2How to Add Images in Apple Keynote03:14
3.3How to Use Apple Keynote Magic Move01:41
3.4How to Make a Video With Apple Keynote01:58
3.5How to Add a Background Image in Apple Keynote03:18
3.6How to Use Keynote Animations02:26
4.Building Charts, Infographics, and Custom Visuals
4.1How to Edit a Keynote Chart02:23
4.2How to Edit Keynote Infographics01:55
4.3How to Create Device Mockups in Apple Keynote02:22
4.4How to Add and Use Custom Fonts in Apple Keynote02:38
5.Presenting With Confidence in Keynote
5.1How to Add and Use Presenter Notes in Apple Keynote02:14
5.2How to Broadcast Your Presentation With Keynote Live01:55
6.Conclusion
6.1Wrapping Up00:39
3.3 How to Use Apple Keynote Magic Move
Presentations often have a standard feel. Content flies onto one slide drops into place and vanishes as you move on to the next one. But with Apple Keynote, you can add stunning motion animations effortlessly. This technique is called Magic Move, a truly unique option to design your next slide deck. To set the stage. Let's imagine that we're working with an image on a slide. We want to show a small thumbnail of it on one slide and a larger preview on the next. Conventional presentations would simply change from one view to the next. In Keynote, however, we can actually animate the image from one position to the next. It's stylish, it's fun, and it adds visual interest. Let's learn how. I'm working in the business development Keynote template from Envato elements. As you can see, I have a slide with an image here. On the right side, I have some descriptive text. What I want to do on the next slide is show a larger preview of the image all by itself. A simple slide transition would seem choppy and quick. With Keynote, I can do better. That's where magic move comes in. The first thing I'll do is click on the slide thumbnail to select it, and then copy it to my clipboard by pressing Cmd C. I'll paste it next in line here on the side bar. Now, I can go ahead and rearrange the image into it's new placement. Just like in the other image, I can click and drag to move it around or scale it by pulling on the corner. Okay, this placement looks great and I'm ready to add the magic move animation. I'll go back to the first slide and click on the image to select it. In the animate tab in the upper right, I'll click add an effect. Magic Move can be found right here at the top. I'll click on it, and Keynote will instantly display a preview. As you can see, the image smoothly animates from its starting point to its final destination. This makes for a far sleeker and professional looking Keynote presentation. You can do this with any slide element to add inspired style to your slides. Thanks for watching.


